 Feny
Feny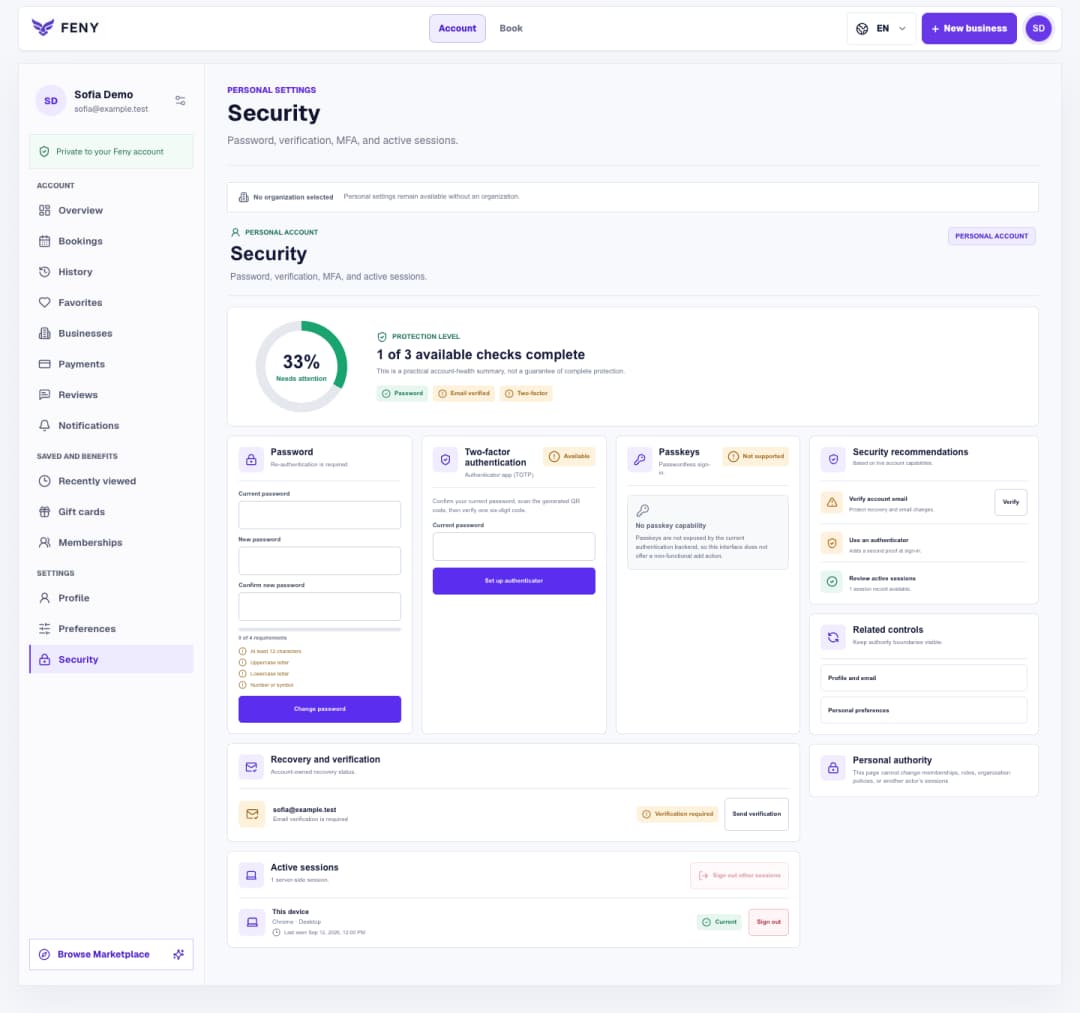
Secure your Feny account: email, password and sessions
Follow the Security screen step by step to verify your email, manage your password and authenticator, and review signed-in devices.
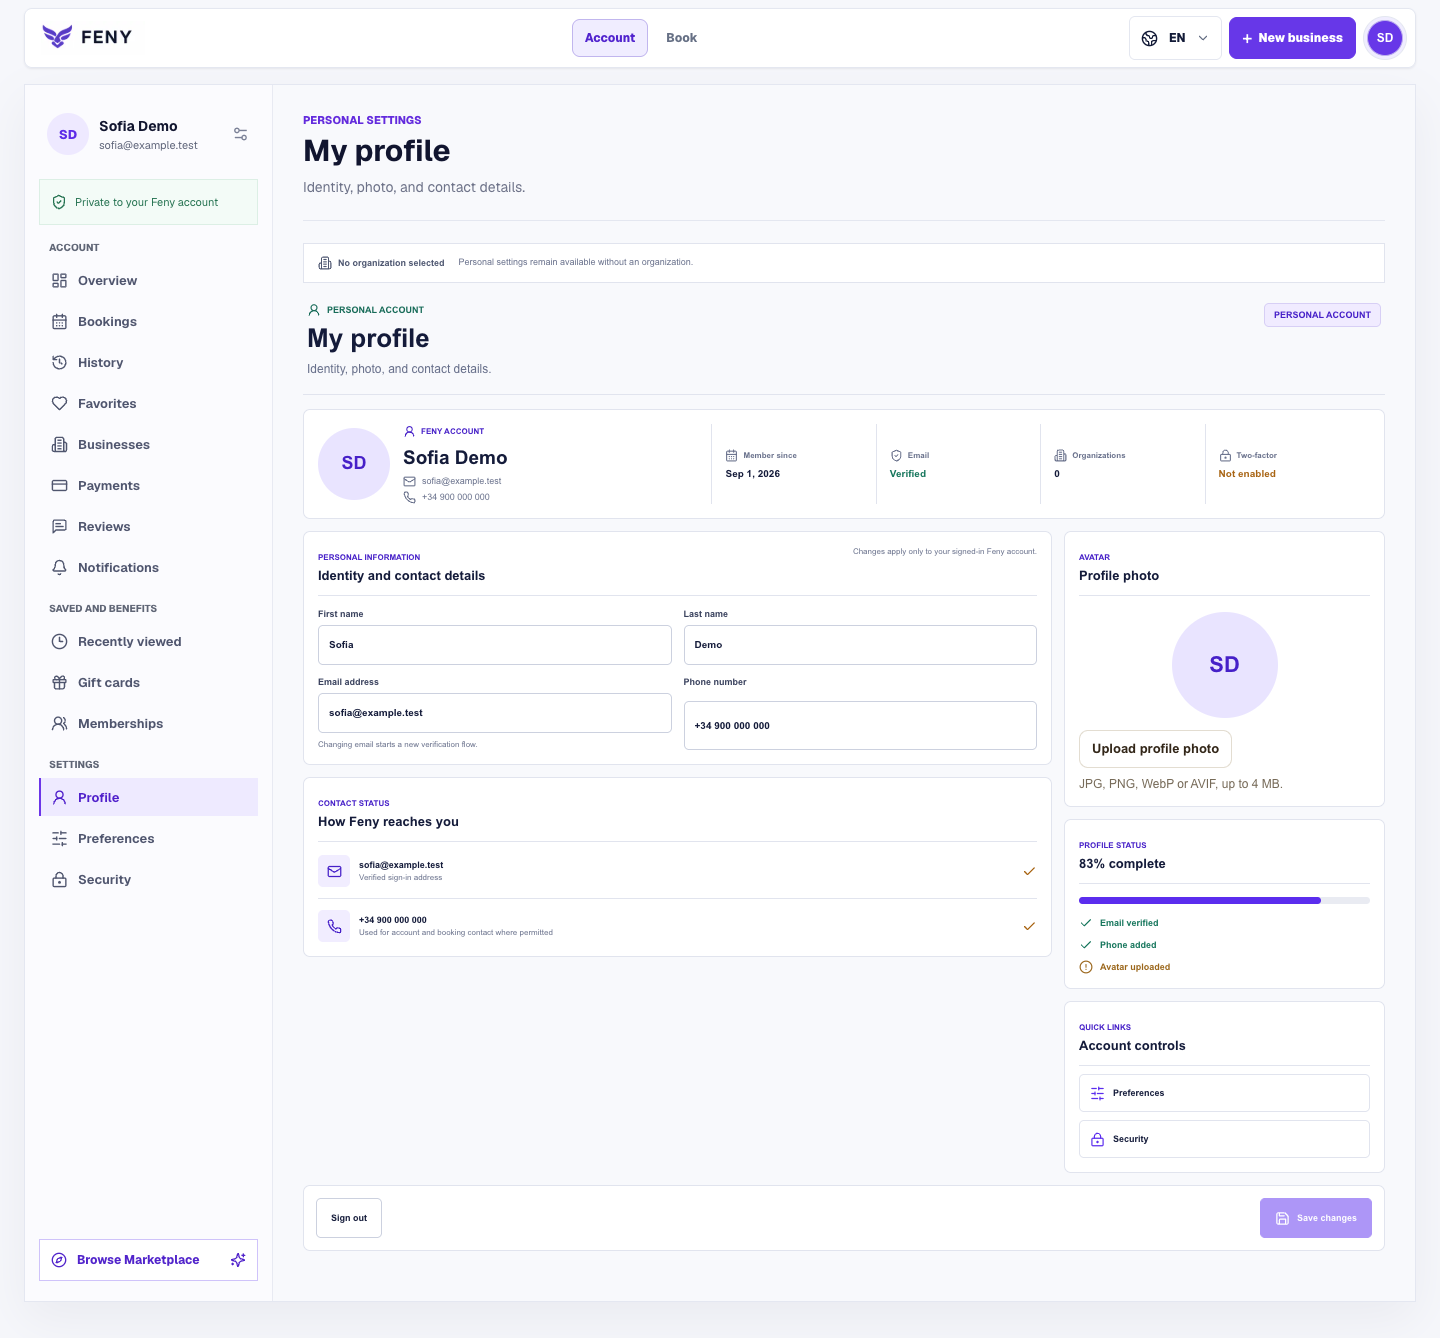
Read articleFind your personal settings, save contact details and a photo, then choose the language you want to use in Feny.
Start here after signing in to Feny for the first time, or when your contact details change. Your profile belongs to your personal account and follows you across organizations. You can use these settings even when no organization is selected. Keep access to your email inbox before changing your sign-in address.
Open your account at /user and choose “Profile” in the navigation. The page heading is “My profile”; its direct address is /user/profile. The overview shows your email verification and two-factor status. Those indicators describe your account; editing a field is not the same as saving it.
Language is saved on a separate page. From the profile’s “Account controls”, choose “Preferences”, or open /user/preferences. In “Language and time zone”, you will find the language selector. The choices use their own names: English, Español, Italiano, Русский and Українська.
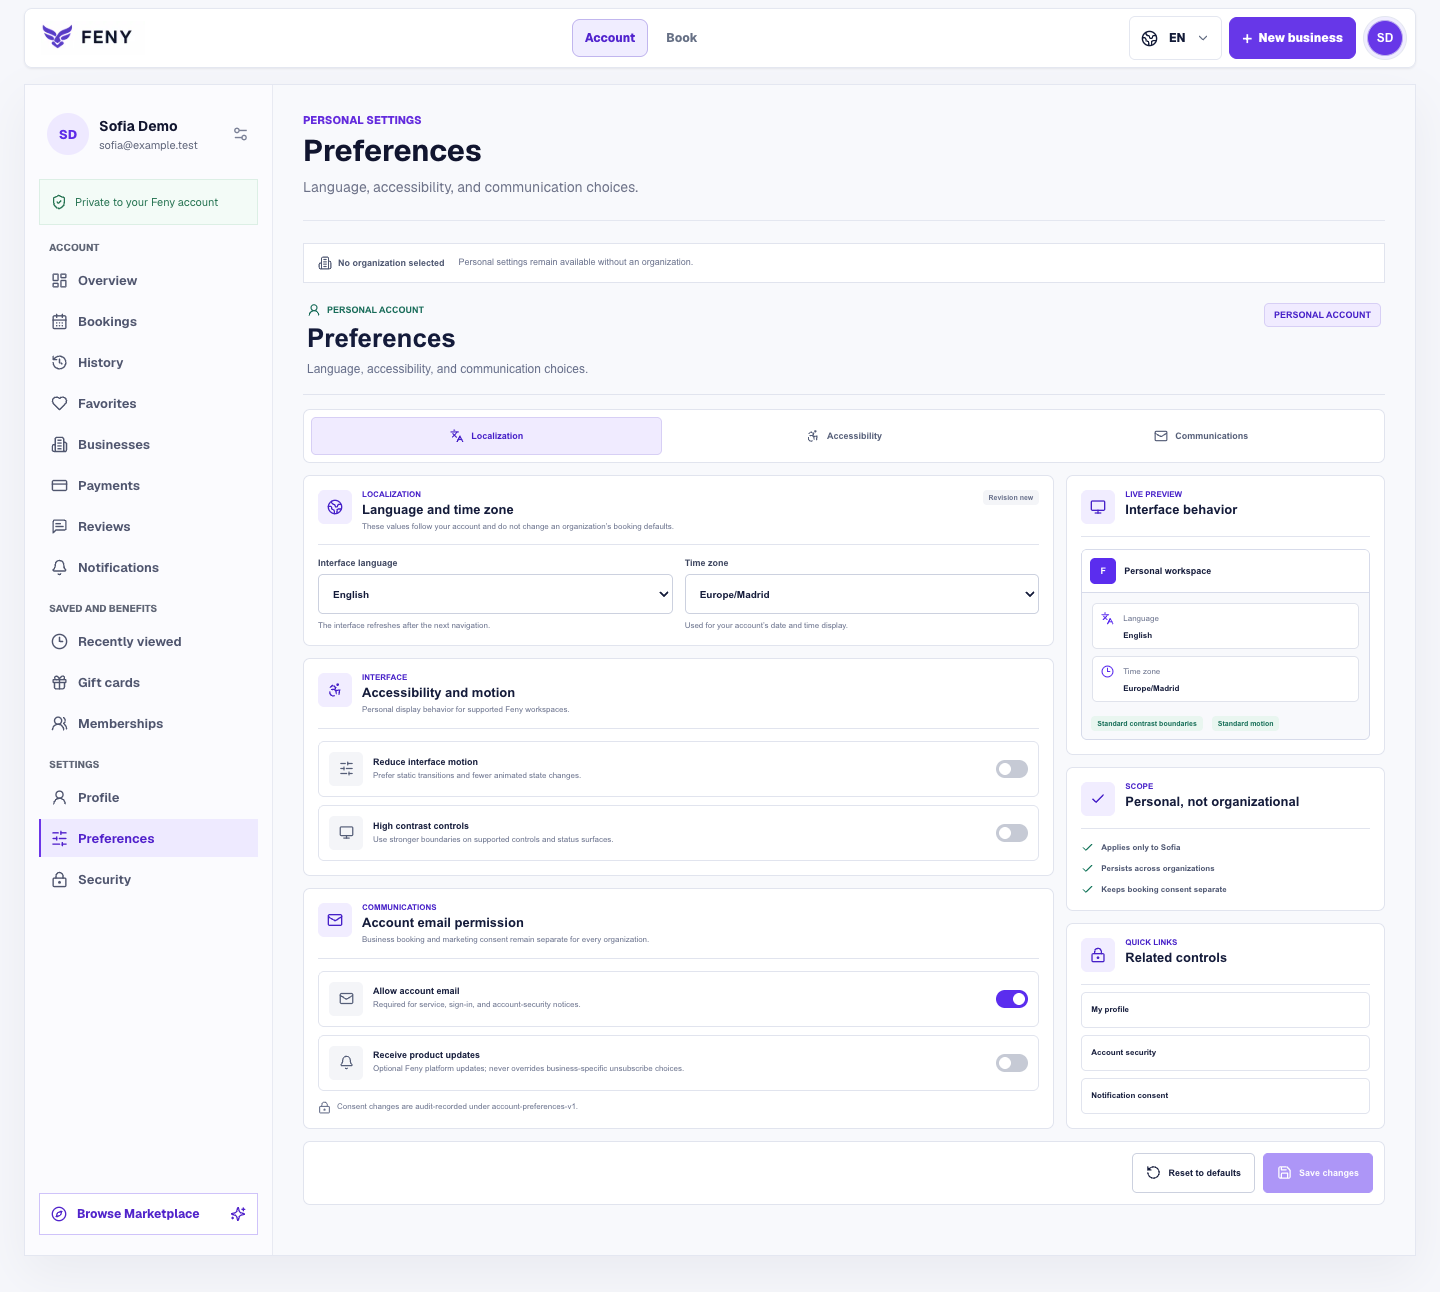
Return to the profile and check the saved name, phone number and photo. Reopen Preferences to confirm the selected language. A photo preview or the profile completion percentage can change while you are editing, so use the save confirmation as your checkpoint. Personal preferences do not change an organization’s booking defaults.
Related reading
Explore more ways to improve your service and client experience.Follow the Security screen step by step to verify your email, manage your password and authenticator, and review signed-in devices.
Read article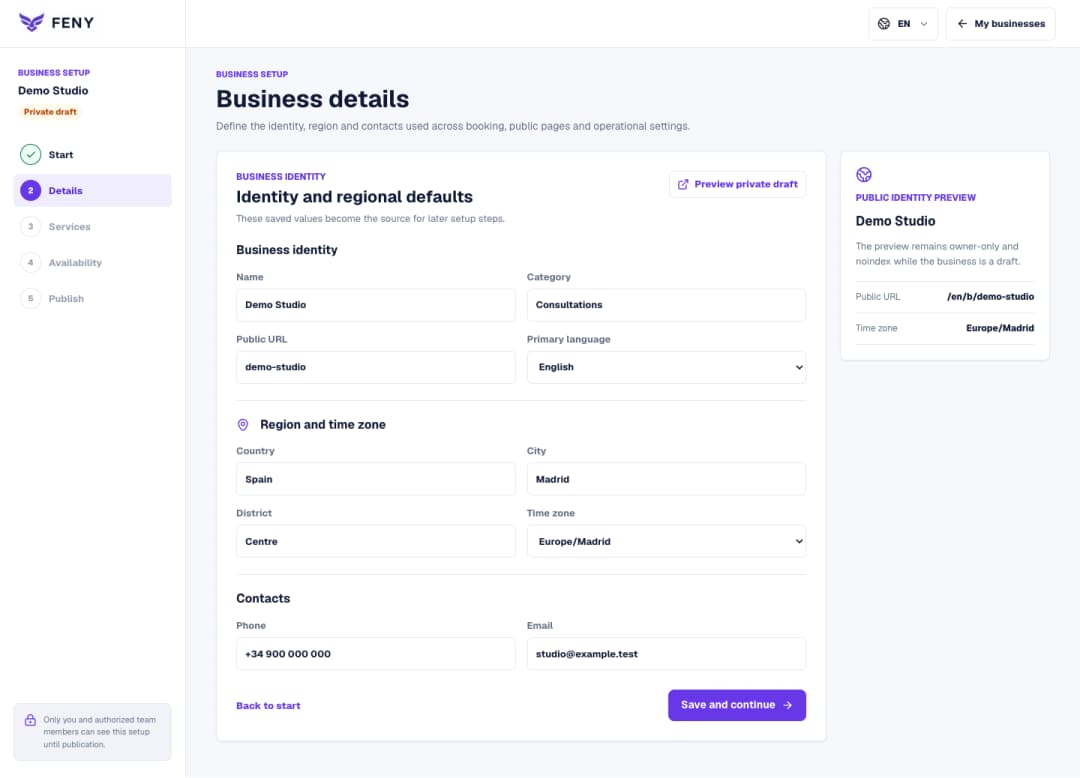
Complete the name, public URL, primary language, region and contacts in the Business details step of your private draft.
Read article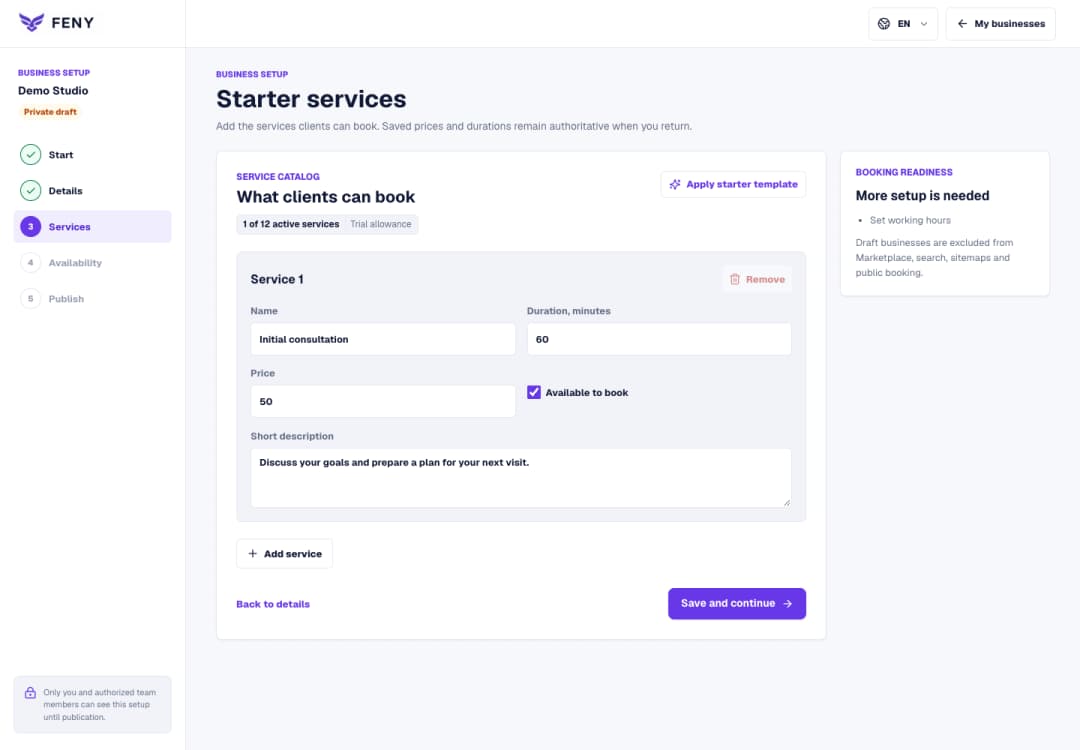
Use Starter services to enter a clear name, duration, price and short description, then continue to working hours.
Read article